Modding for Beginners: Where to Start Without Breaking Your Game
First mod, zero disasters: sources, load order, and backups.
Why Mods Break Games (and Why It Is Usually Avoidable)
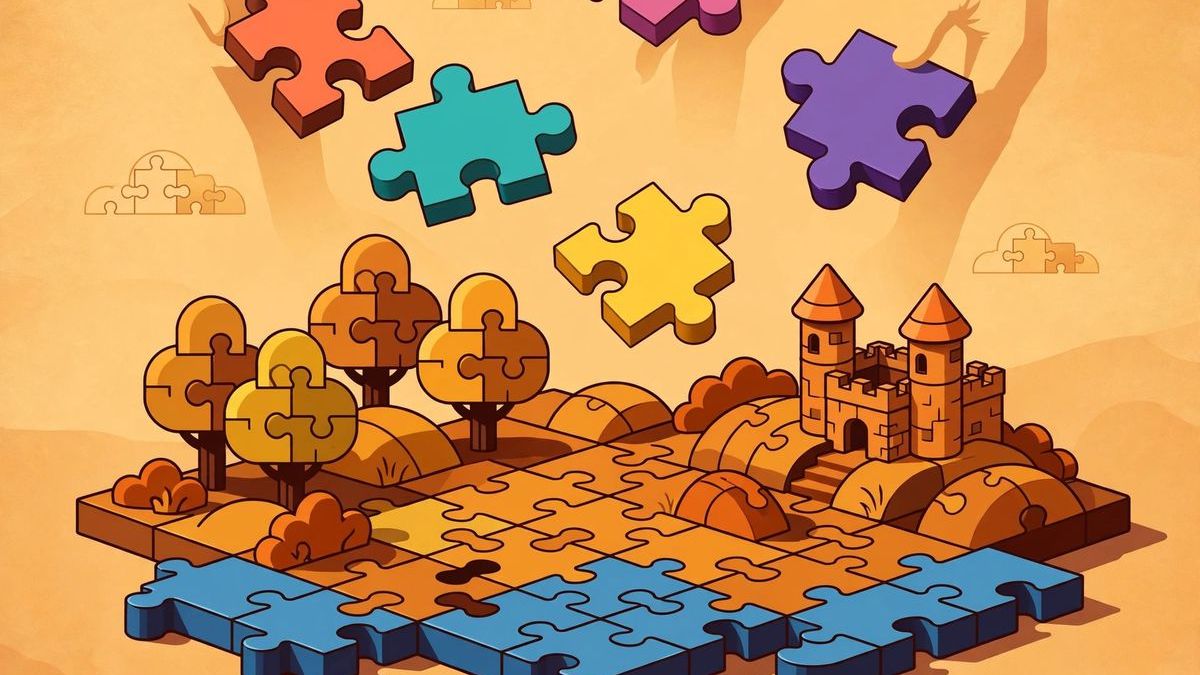
Almost every "mods broke my game" story follows the same script: someone installs fourteen mods at once, the game crashes on launch, and nobody knows which one did it. Mods themselves are rarely the villain. The villain is installing them blindly. A mod is just a package of files that overrides or extends the game's own files. When two mods override the same file, the last one loaded wins — and if neither author planned for the other, something breaks. Understand that one mechanism and you understand 90% of mod troubleshooting.
This guide gives you a safe first-mod workflow: where to get mods, how to install them so you can undo anything, and the five mistakes beginners make. Follow it and your worst case is ten minutes of cleanup, not a corrupted save.
Step Zero: Back Up Before You Touch Anything
Do this before installing a single mod. Find your save folder — on Windows it is usually under Documents\My Games, %APPDATA%, or the game's Steam folder under steamapps\common — and copy the entire save directory somewhere safe, like a folder on your desktop named game-saves-backup-nov-2026. This takes two minutes and is the difference between "that mod was weird, let me remove it" and "my 80-hour save is gone." Mods that only change textures or UI cannot corrupt saves, but script-heavy mods sometimes can, and you will not know which kind you have until something goes wrong. Back up first, mod second. Every time.
Where to Actually Download Mods
Stick to the big three sources and ignore random file-host links from comment sections:
Steam Workshop
If your game supports it, start here. One-click subscribe, automatic updates, and one-click unsubscribe. The downside is curation — quality varies wildly and the Workshop has no load-order tools. Perfect for your first two or three mods, less ideal for a 200-mod setup.
Nexus Mods
The largest mod repository, with download counts, endorsement ratings, and comment sections where problems get documented. This is where you graduate to once you want real control. Pair it with a mod manager (below) rather than downloading files by hand.
ModDB
Older but still essential for classic games — total conversions and big overhaul mods often live here exclusively. Check the file dates: a mod last updated in 2016 for a game patched in 2024 is a red flag, not a bargain.
Use a Mod Manager (Do Not Install by Hand)
A mod manager keeps a clean separation between the game's original files and your mods, usually through virtual file systems or profiles. That means disabling a mod truly removes it, instead of leaving orphaned files in your game folder. The two you will encounter most:
- Vortex (by Nexus Mods): the beginner-friendly default. Handles downloads, install order, and basic conflict resolution with guided prompts. Start here.
- Mod Organizer 2: more powerful, steeper learning curve. Its killer feature is profiles — you can keep a "vanilla-plus" profile and a "total overhaul" profile for the same game and switch between them without reinstalling anything.
Whichever you pick, the rule is the same: if a mod's install instructions say "extract into your game folder," do it through the manager, not by hand. Manual installs are how mystery crashes are born.
Load Order: The One Concept That Matters
When two mods touch the same thing, load order decides the winner. Think of it as layers of paint: the last layer is what you see. Most of the time the correct order is:
- Foundations first: script extenders, unofficial patches, and framework mods (the ones other mods list as requirements) load at the top.
- Big overhauls next: mods that change lots of things.
- Small tweaks last: single-item mods, UI tweaks, and personal patches go at the bottom so they win conflicts.
Mod managers auto-sort most of this and will flag direct conflicts, showing you exactly which files collide and letting you choose the winner per conflict. When in doubt, read the mod's description page — authors almost always document where their mod belongs in the order and which popular mods it conflicts with.
The Five Mistakes That Break Games
1. Installing everything at once
Install one mod, launch the game, confirm it works, then install the next. Boring? Yes. It also means when something breaks, you know exactly which mod did it. The "install 30 mods then troubleshoot" approach turns a five-minute fix into a lost weekend.
2. Ignoring version requirements
"Requires game version 1.6+" on a game you have at 1.5 is not a suggestion. Neither is "requires Script Extender v2.2" when you have v2.1. Version mismatches are the number one cause of instant crashes on launch. Check the requirements tab before you download, not after the crash.
3. Mixing Steam Workshop and manual installs
The Workshop auto-updates mods silently. If you also manage the same game in Vortex, the two systems fight over files. Pick one pipeline per game and stick to it.
4. Updating mid-playthrough carelessly
A mod update can change how your save data is interpreted. Updating a quest mod halfway through its questline is asking for broken scripts. Finish your current run, or at minimum back up saves before updating anything mid-game.
5. Deleting mods instead of disabling them
Script-heavy mods bake data into your save file. Ripping the mod out mid-playthrough leaves orphaned script data that can corrupt the save hours later. Disable through the manager, load a save from before you installed the mod, and only then consider the save clean.
Your First Mod: A Safe Starter List
For a first project, pick a game you know well and install in this order: an unofficial patch (fixes bugs the developers never patched), one quality-of-life mod (better UI, faster looting, skip intro videos), and one visual mod (a texture pack or lighting tweak). That is three mods, each from a different category, each easy to verify in-game. Play for an hour. If everything is stable, you now understand the whole loop — source, manager, load order, test — and you can scale up to the ambitious stuff with confidence.
Uninstalling Cleanly
Done with a modded run? Disable everything in the manager, verify the game's files through Steam (or reinstall if not on Steam), and delete any leftover mod folders the manager flags. Then load a pre-mod backup save — or start fresh. A "clean" game folder plus a pre-mod save is the only state you should trust for a new playthrough. Keep your mod list exported from the manager (both Vortex and MO2 support this) so you can rebuild the exact setup later in minutes instead of from memory.